
After nearly 20 years working in the wedding industry and providing invitations to thousands of couples we know a few things about wedding stationery.
Gone are the days of a simple, single invitation with a plain white envelope. Your wedding invitation is the first glimpse your guests will have of your wedding vision. It’s the first impression they will have of what to expect of your big day…and we all know first impressions count!
Over the years we’ve learnt what is important to couples, and developed our offer and product to not only adapt and grow with the wedding trends of the moment but tick every box when it comes to quality and exceeding expectations.
We are confident what we offer today is the most flexible, fully comprehensive stationery service available, and our unique process makes creating your dream invitation super simple, with you in the driving seat all the way.
Our website has been designed and built to allow you to fully customise your invitations. We’ve broken down the process of building your invitation suite into easy to follow steps – all you have to do is follow them…
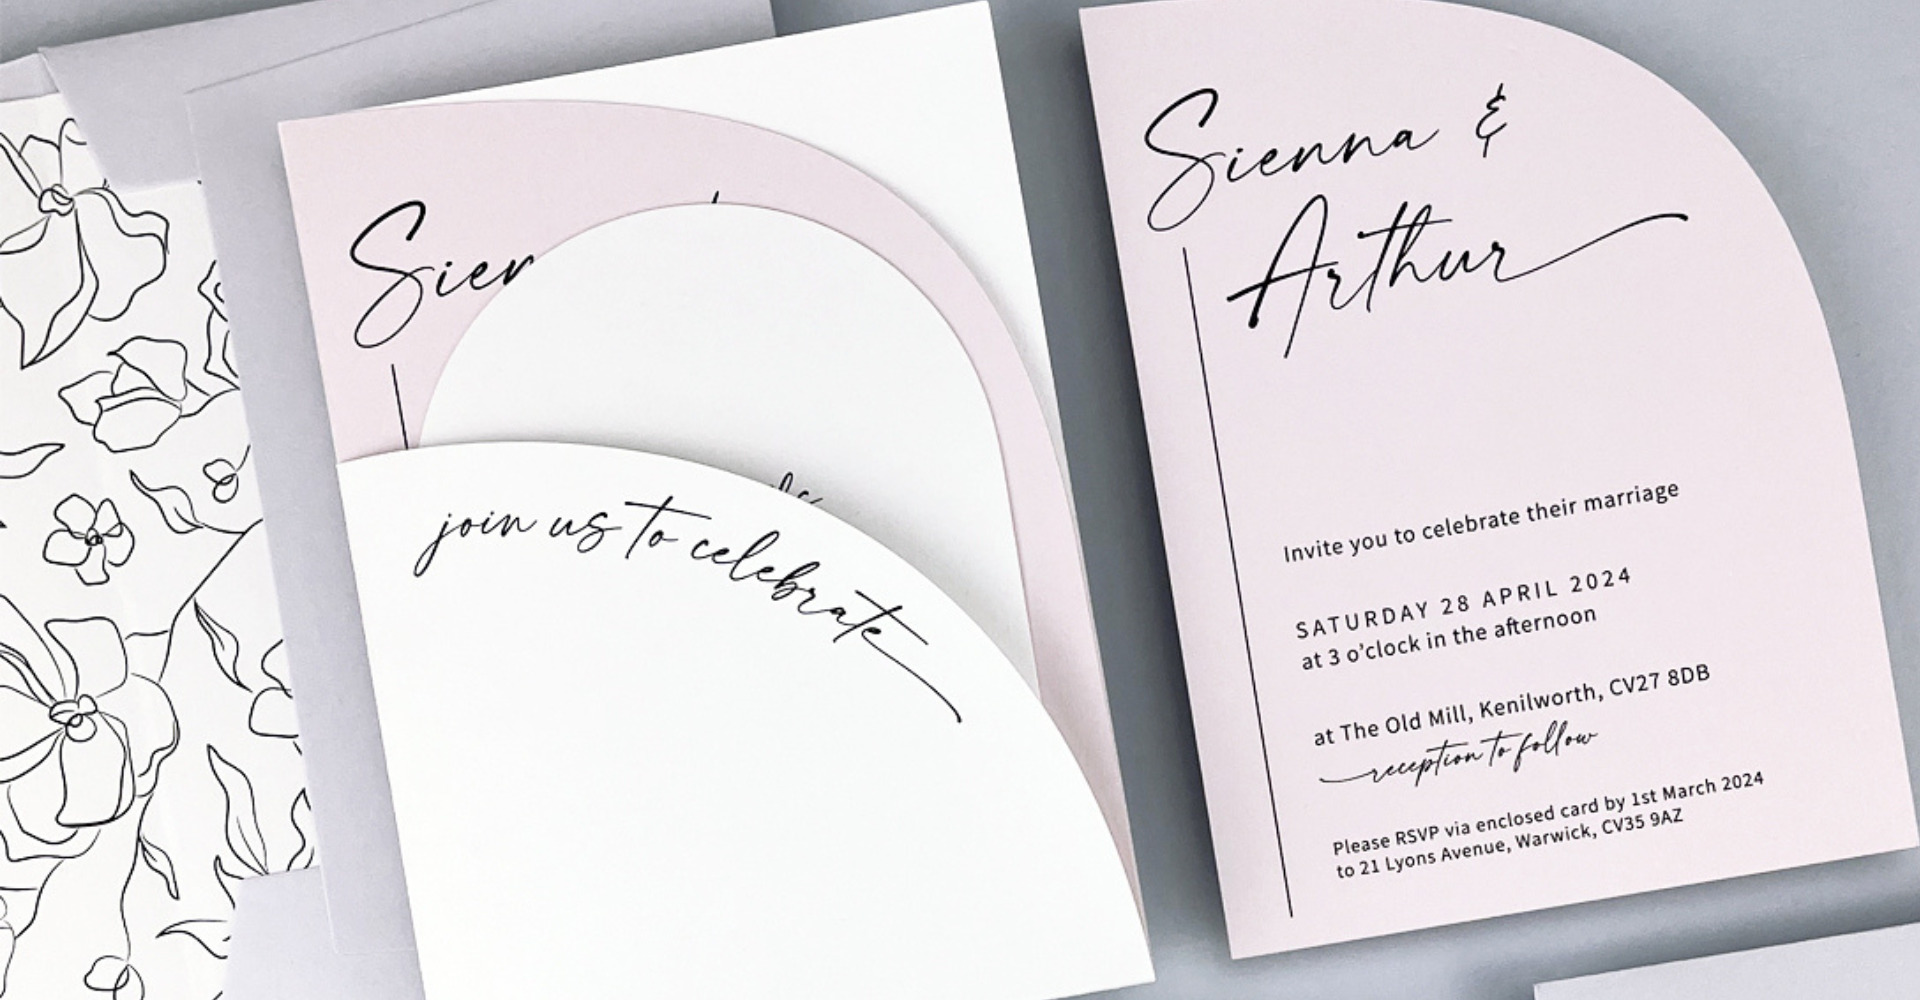
Step 1 – card colour
Many of our invitation designs are available in the colour(s) of your choice so if applicable, first we ask you to choose the card colour for your main invitation, choosing from the 60+ shades we offer. You can stick to the same colour for your entire suite or mix and match to create a bespoke design to suit your theme.
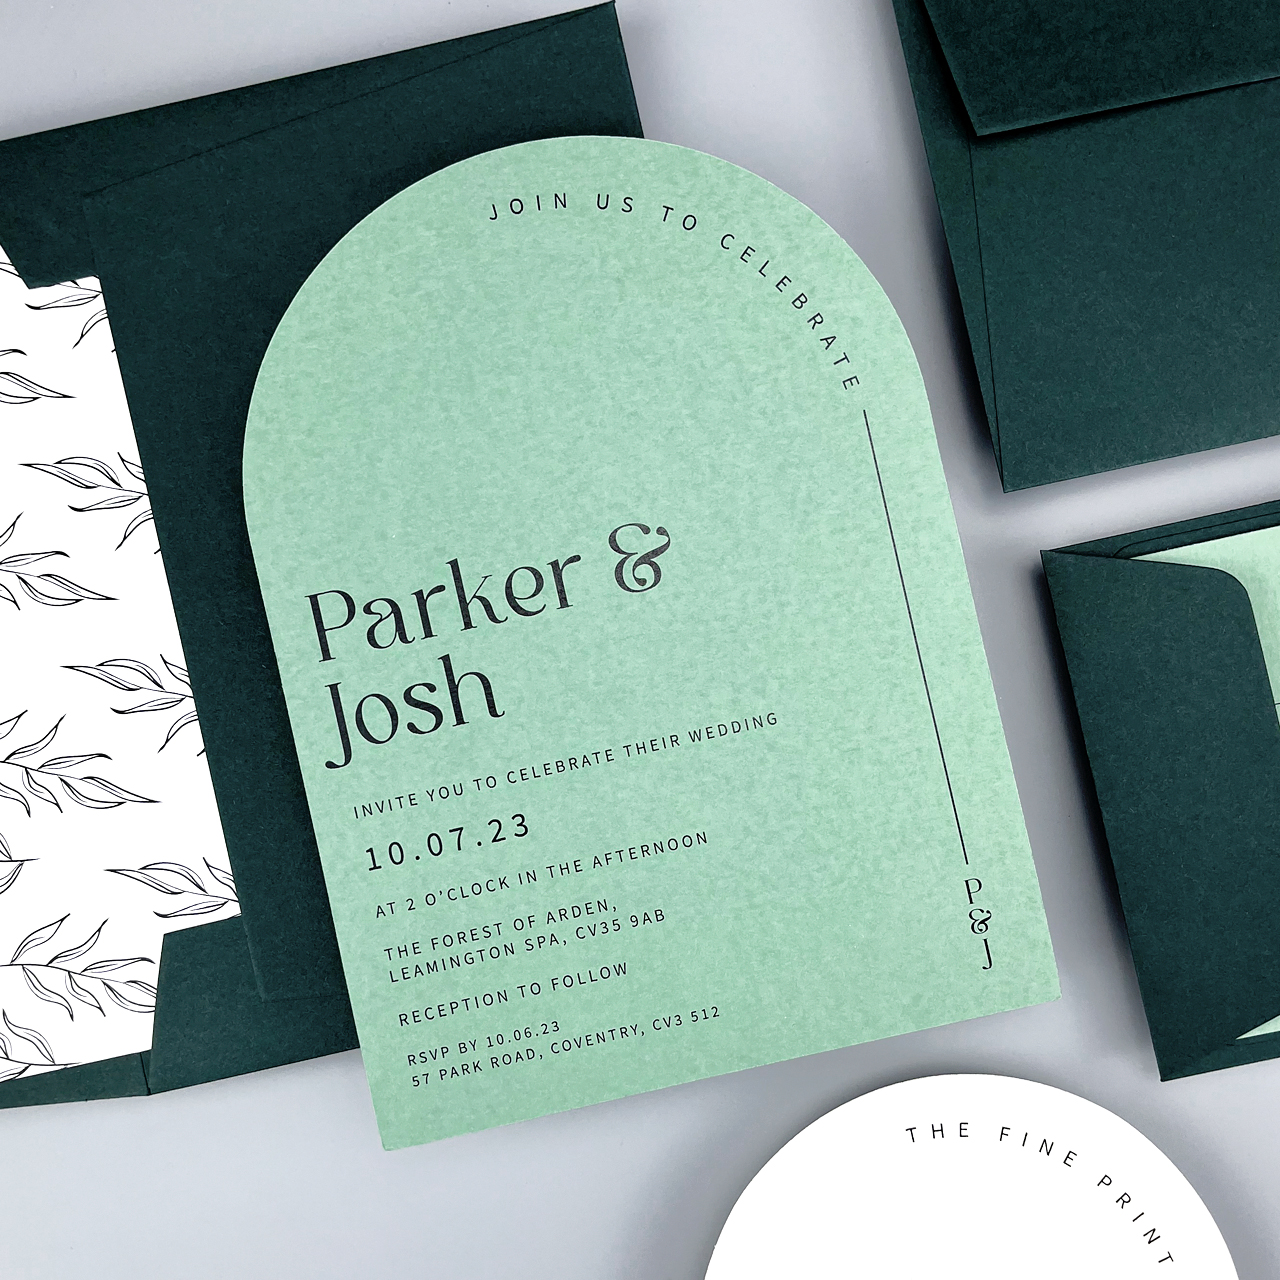
Step 2 – select a print colour
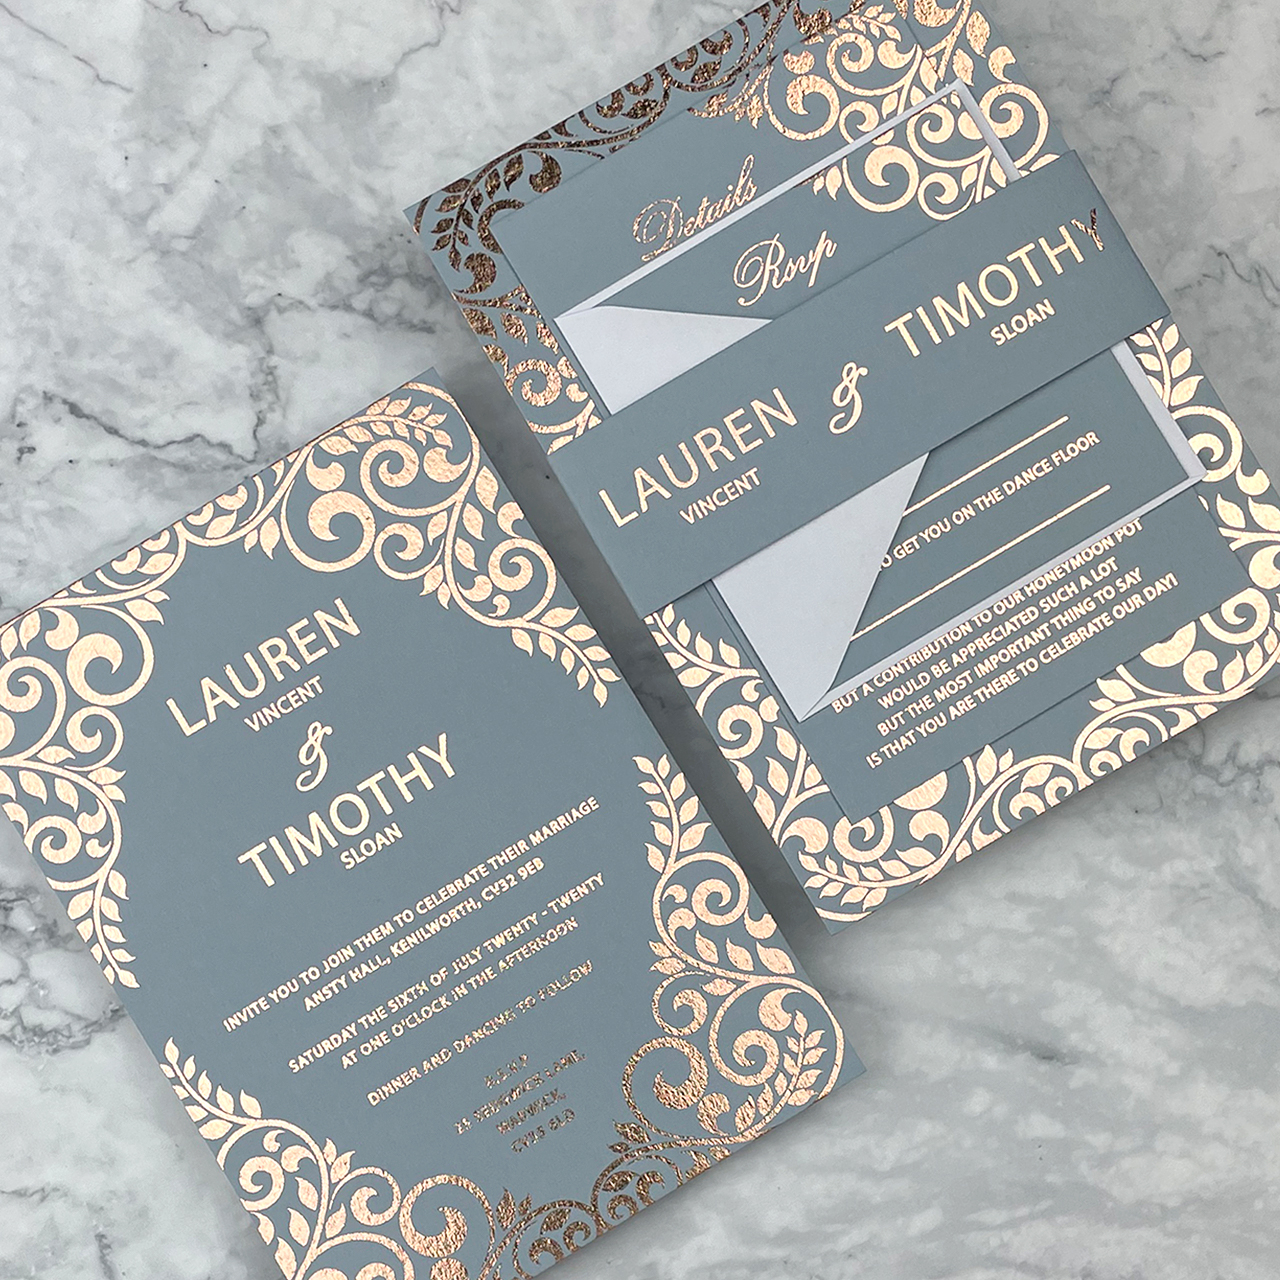
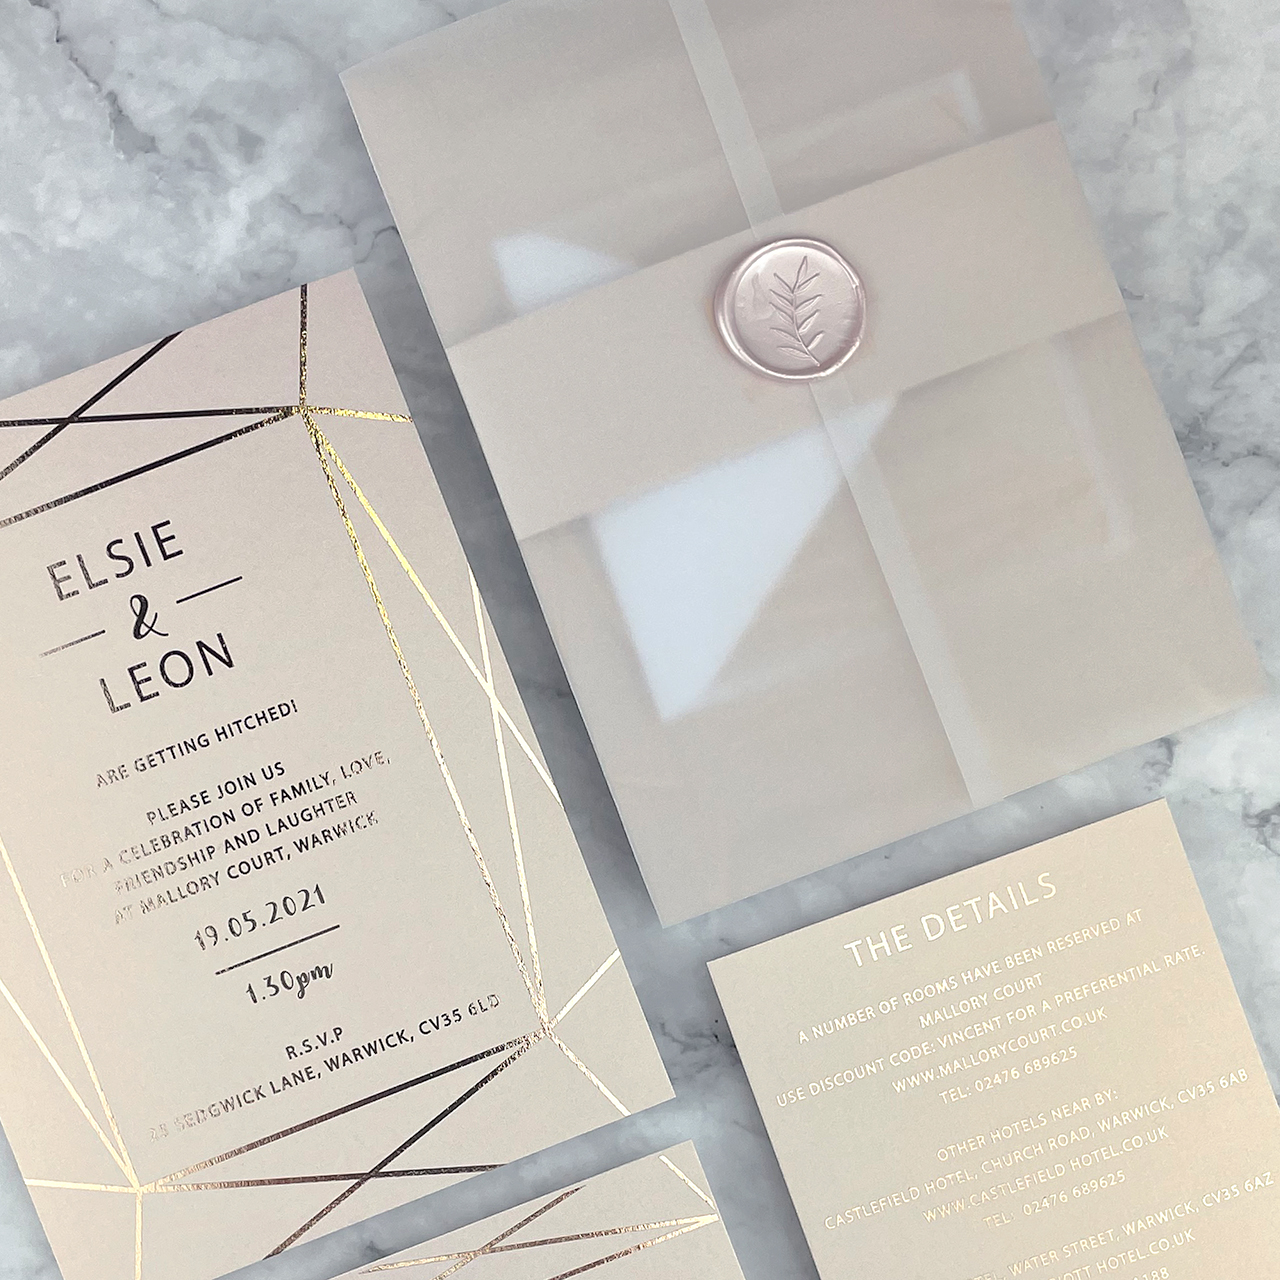
Next we ask you to choose your print colour. Dependent on the invitation design you’ve selected there are multiple print options to choose from, from all foil to all black or a mix of both.
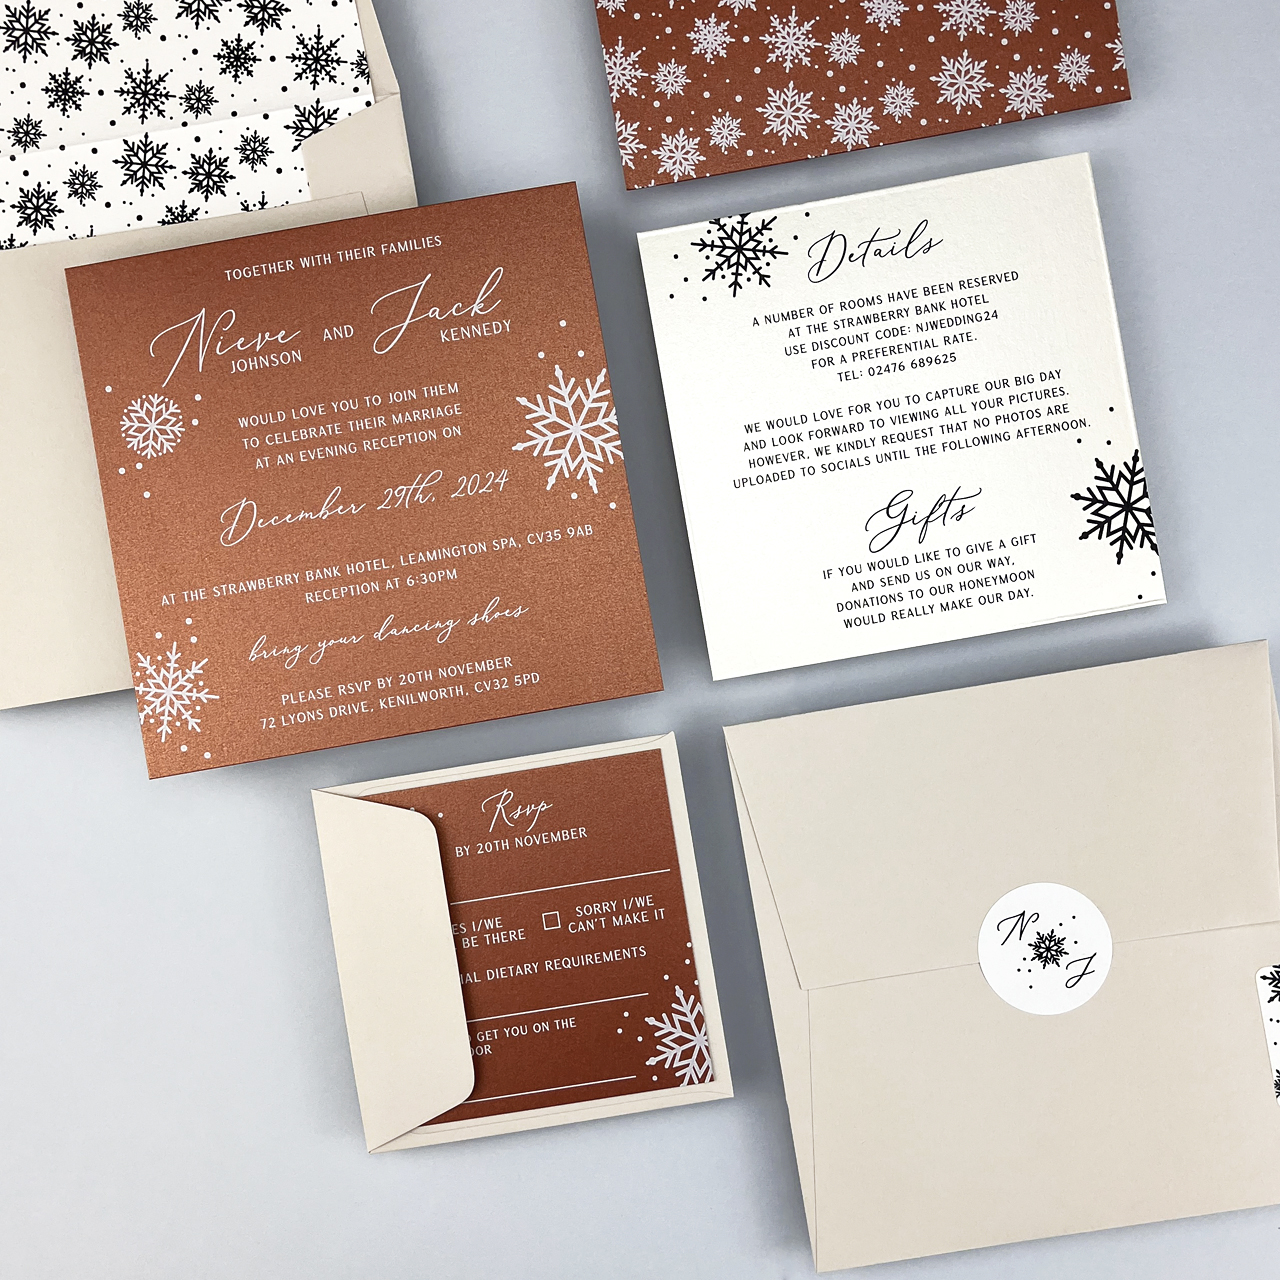
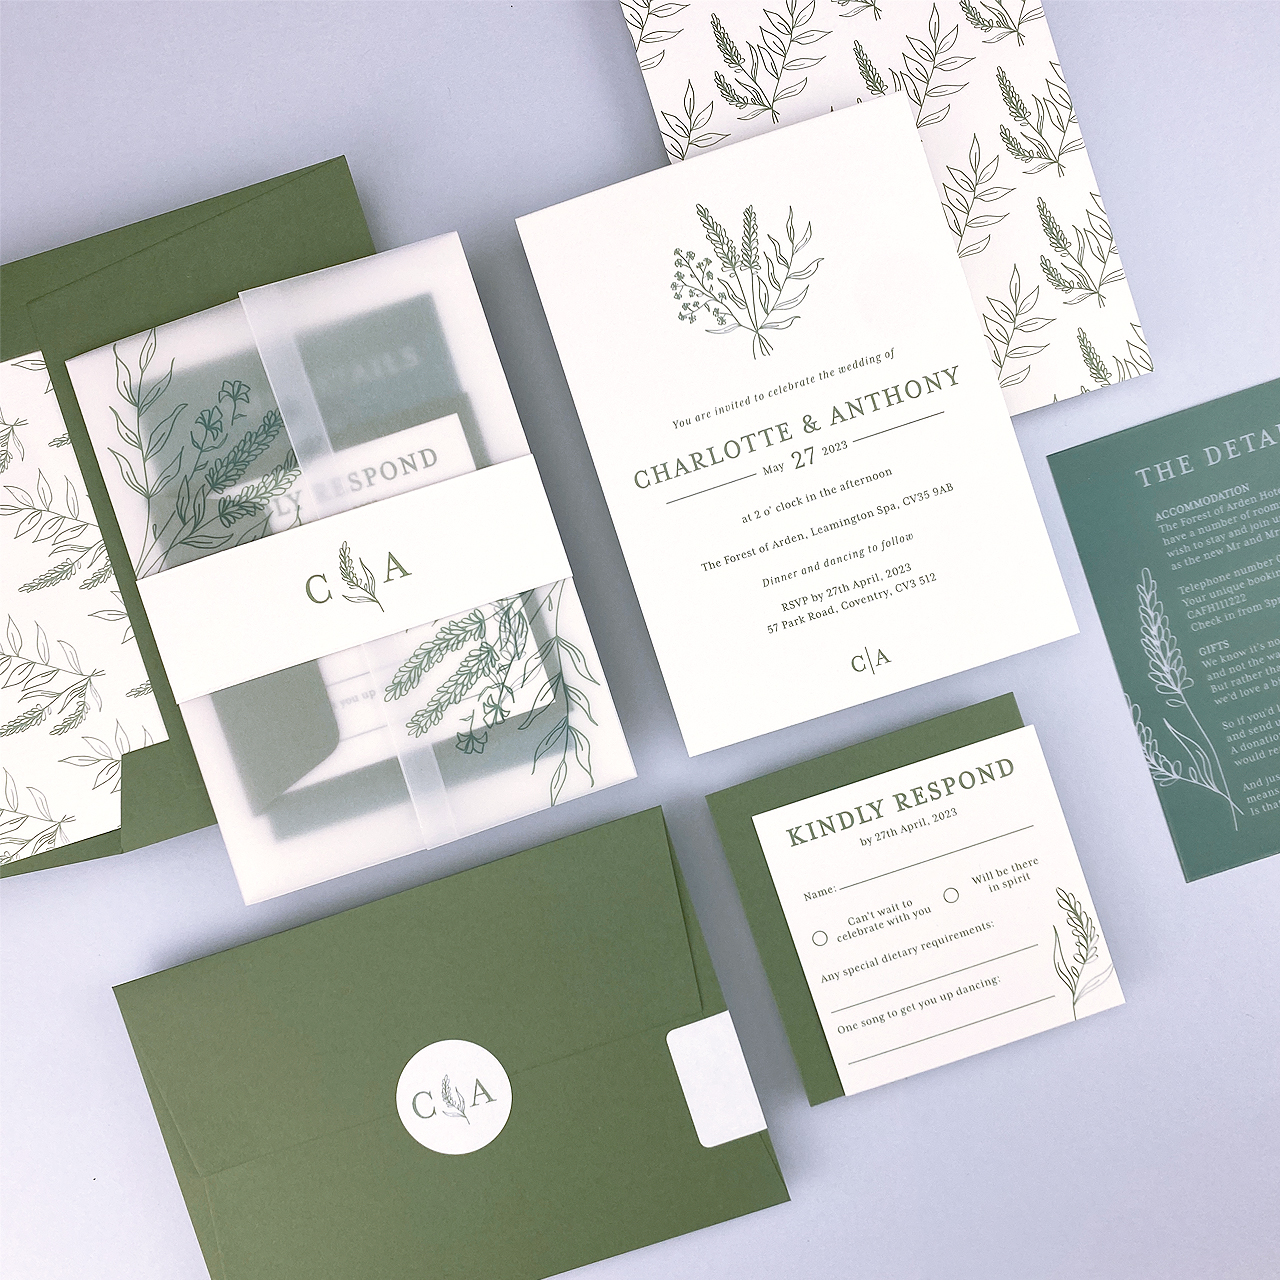
Step 3 – add an information card
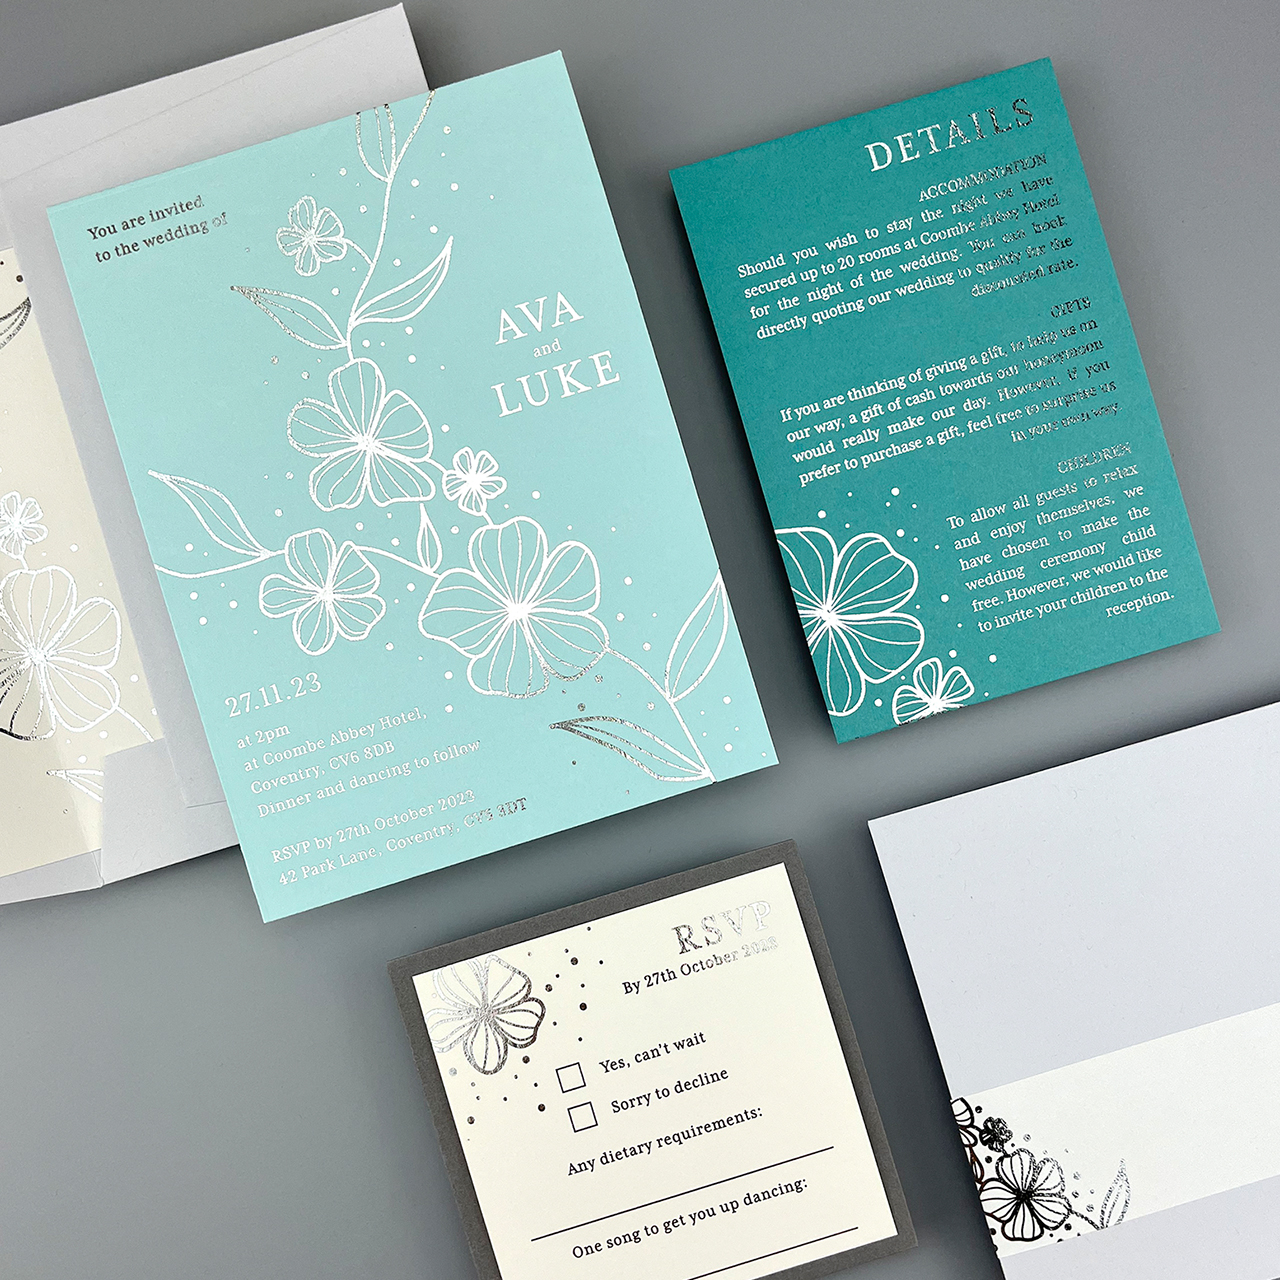
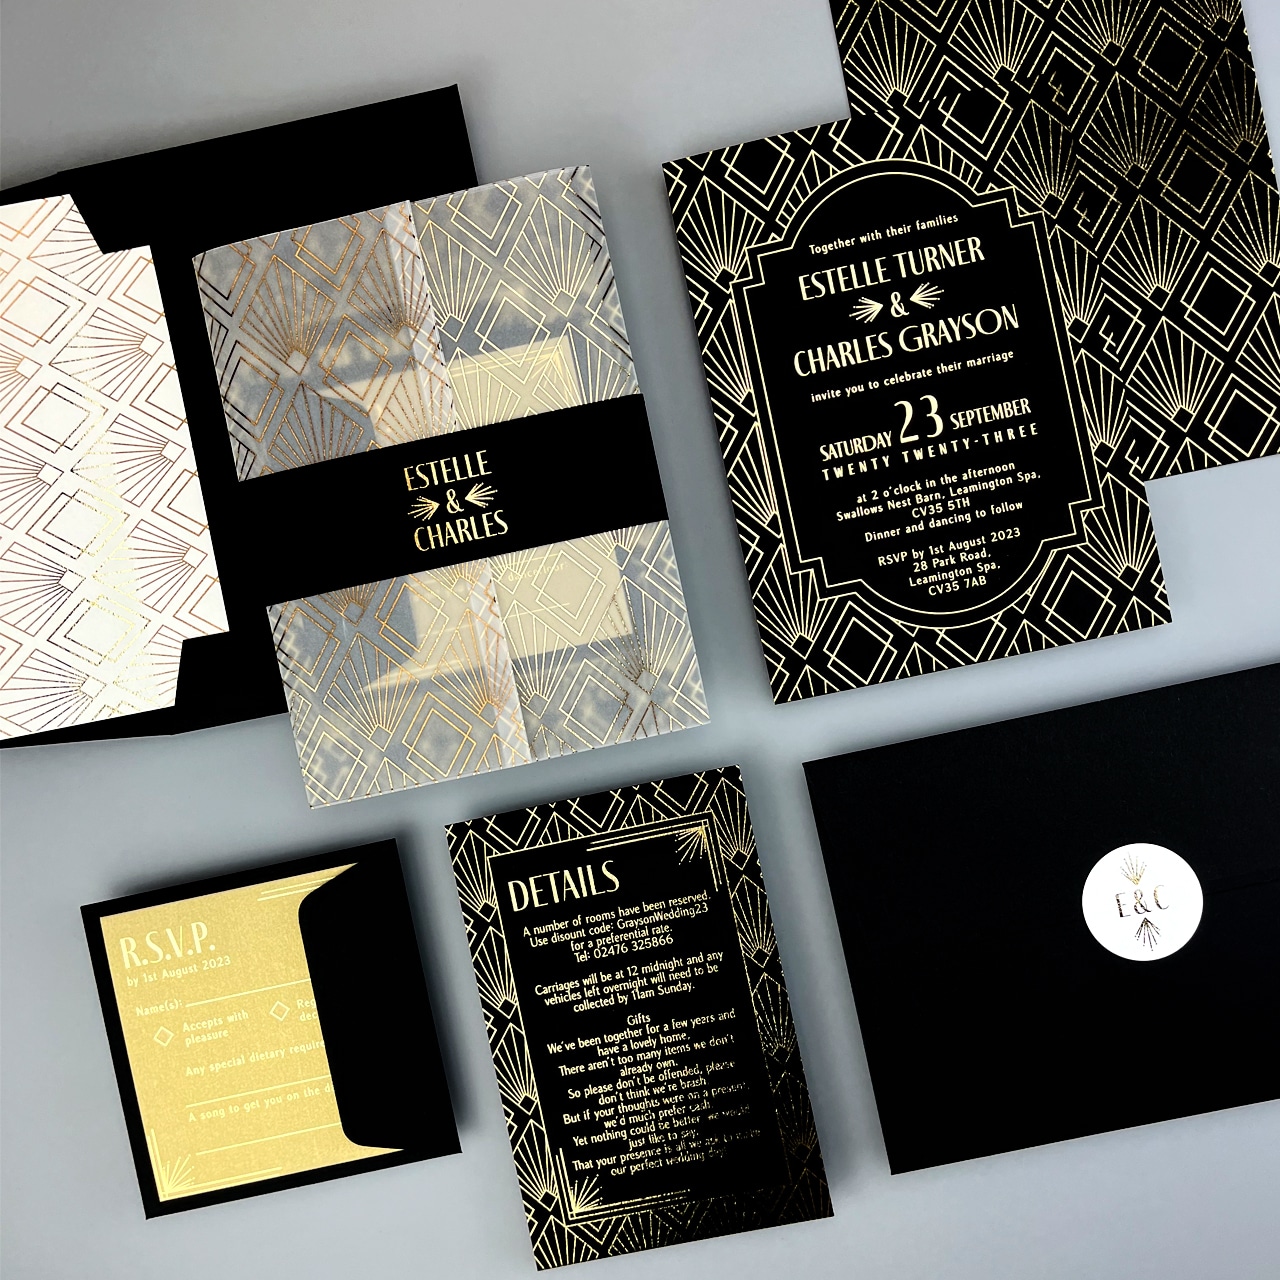
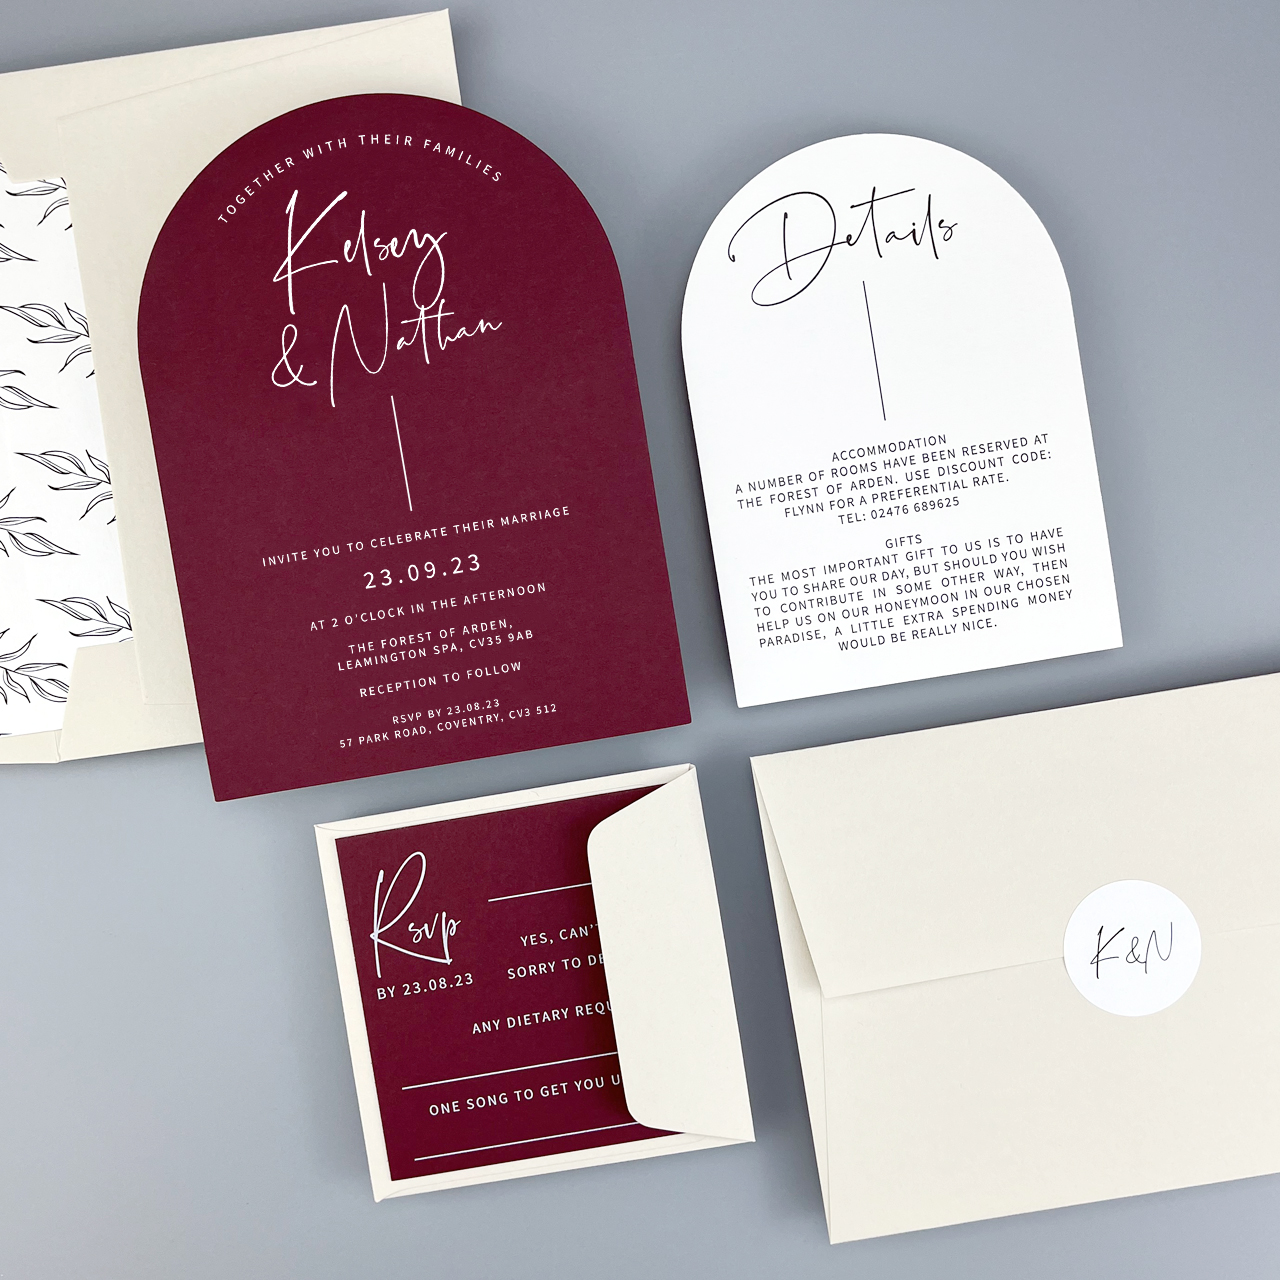
If needed, and if the budget allows, you can include a bespoke information card to provide additional details to your guests such as travel information, suggested hotels if required, and/or details of a gift list. You can choose to have the card in the same colour as your main invitation, opt for a different shade to create a tonal effect, or go for a completely different colour altogether. The choice is completely yours!
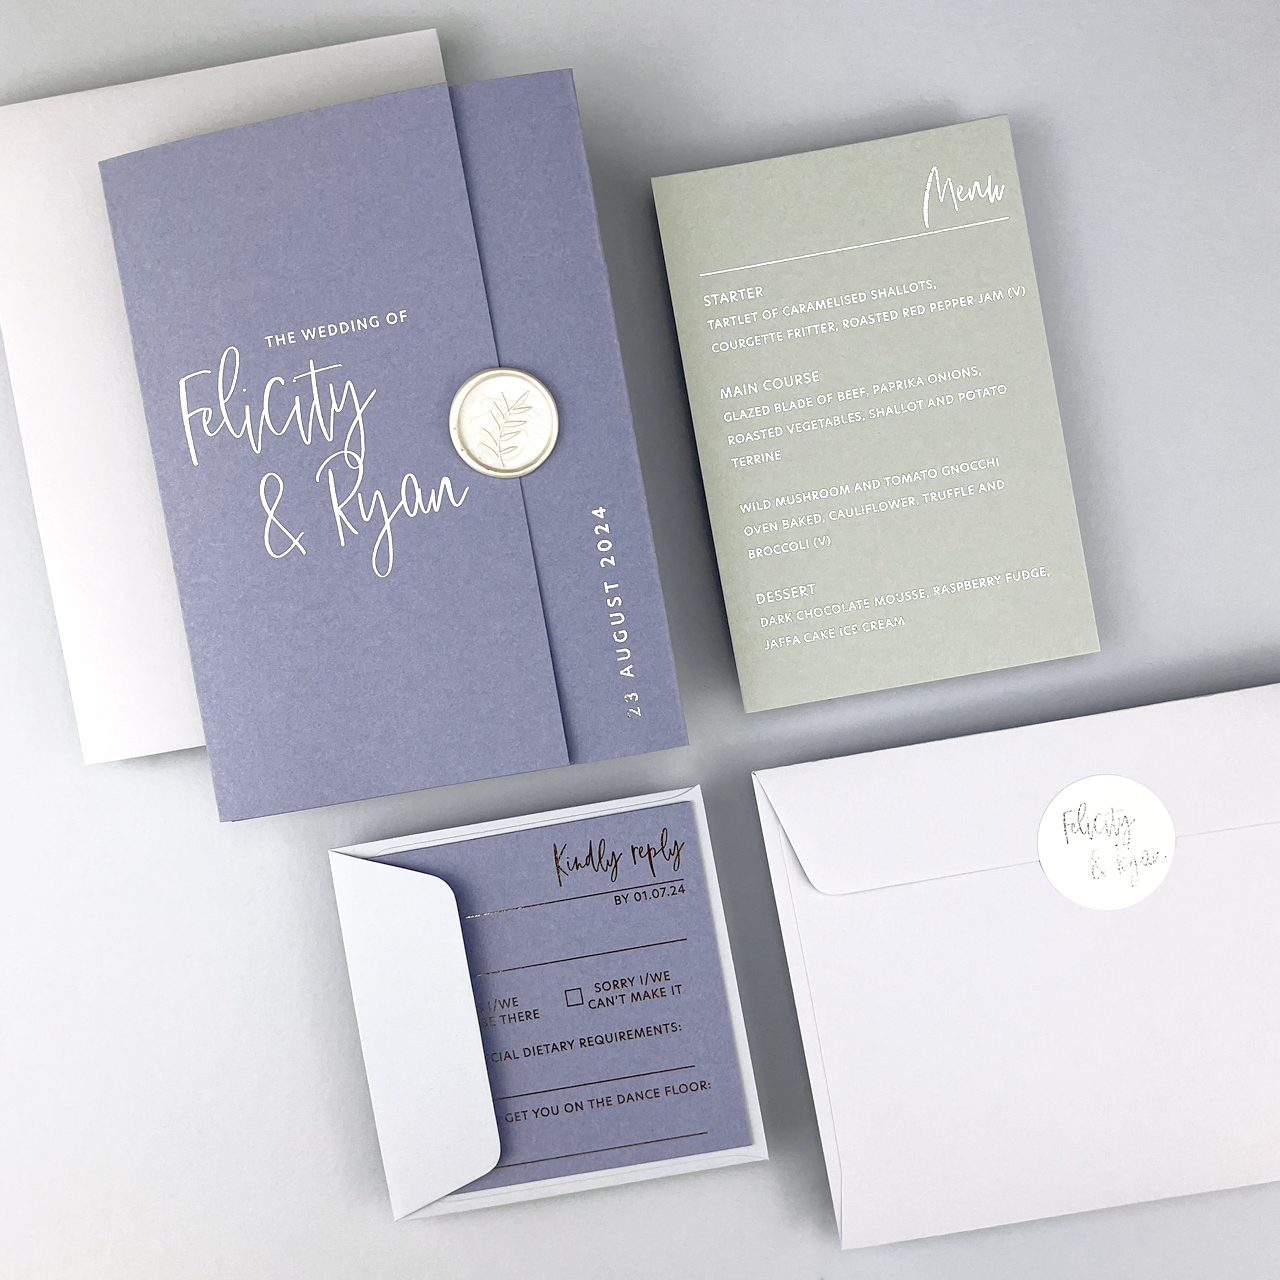
Step 4 – add a RSVP card
Including a RSVP card is generally expected, to allow your guests to confirm their attendance, but as with all the elements of planning a wedding we firmly believe it is your big day and therefore the only rules are yours! It is your choice whether to have one or not.
If you do choose to add one, as with an information card, you can choose the same card colour as your main invitation or opt for a slightly different shade, to create a subtle tonal effect, or go for a totally different colour for a bolder contrasting look.
We offer a choice of RSVP formats – a standard square style card with envelope, or the more modern postcard format.
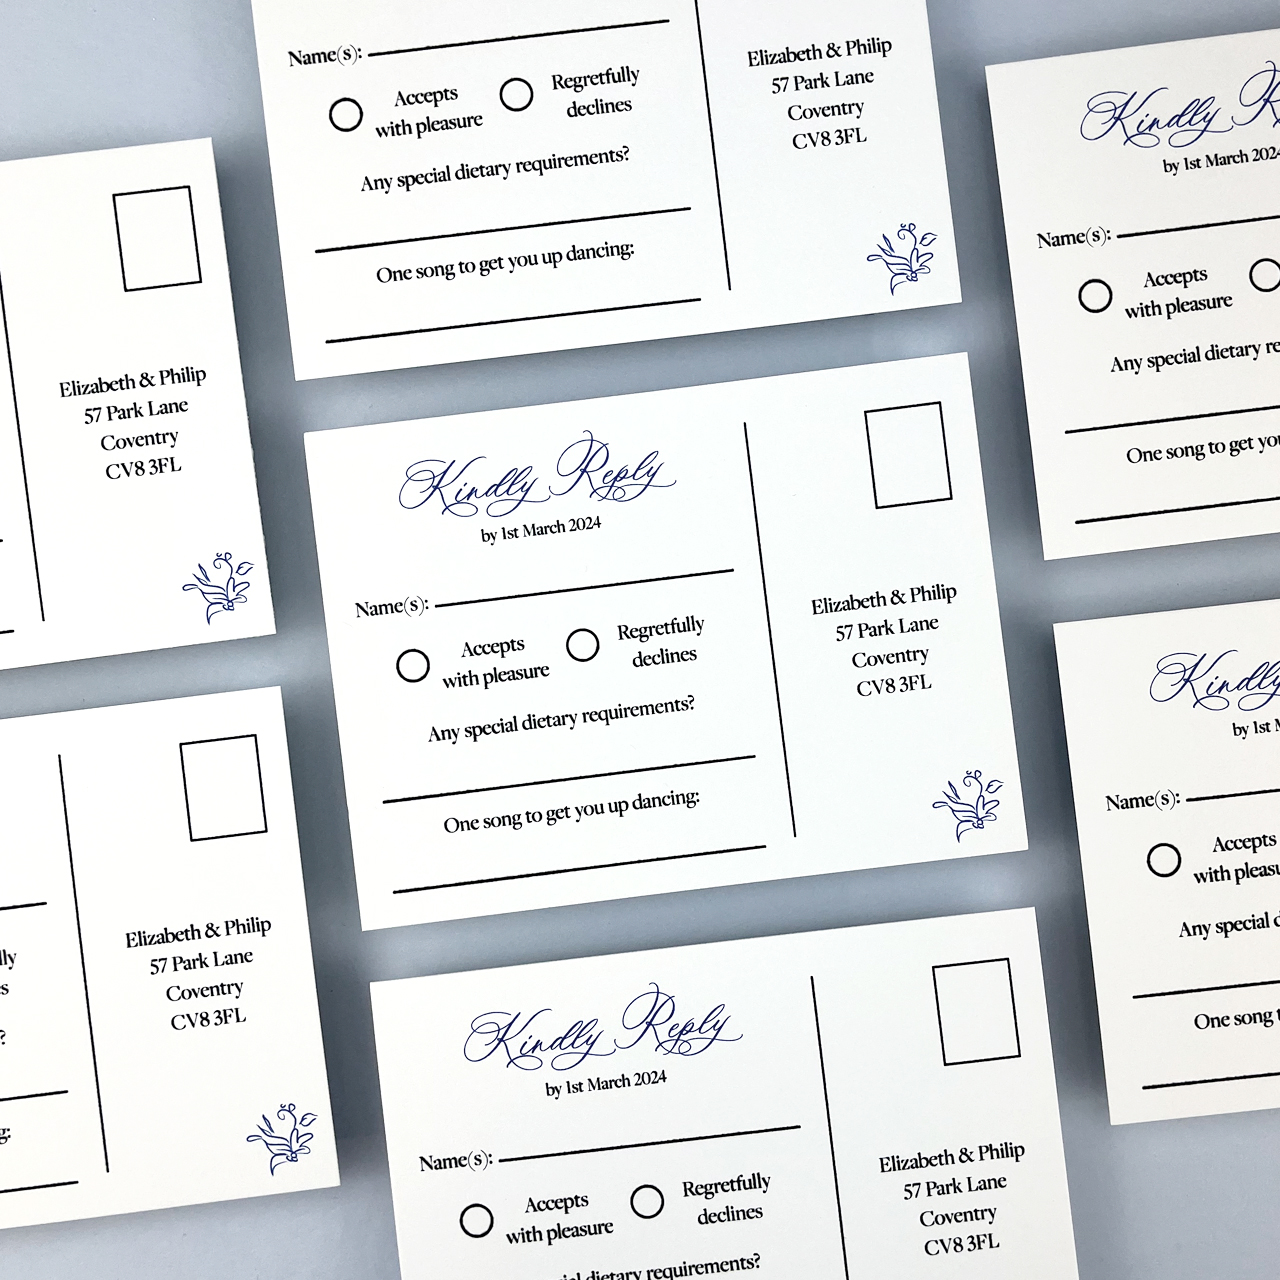
TOP TIP!
Use your RSVP card to allow your guests to confirm their menu choices – print the menu options on the reverse of the card and ask your guests to initial their selections. This makes it so easy for your guests to confirm their attendance and their menu choices super efficiently!
Step 5 – choose a RSVP envelope
If you choose a square RSVP card it is supplied with a standard white envelope but you can choose to upgrade to one of our coloured envelopes.
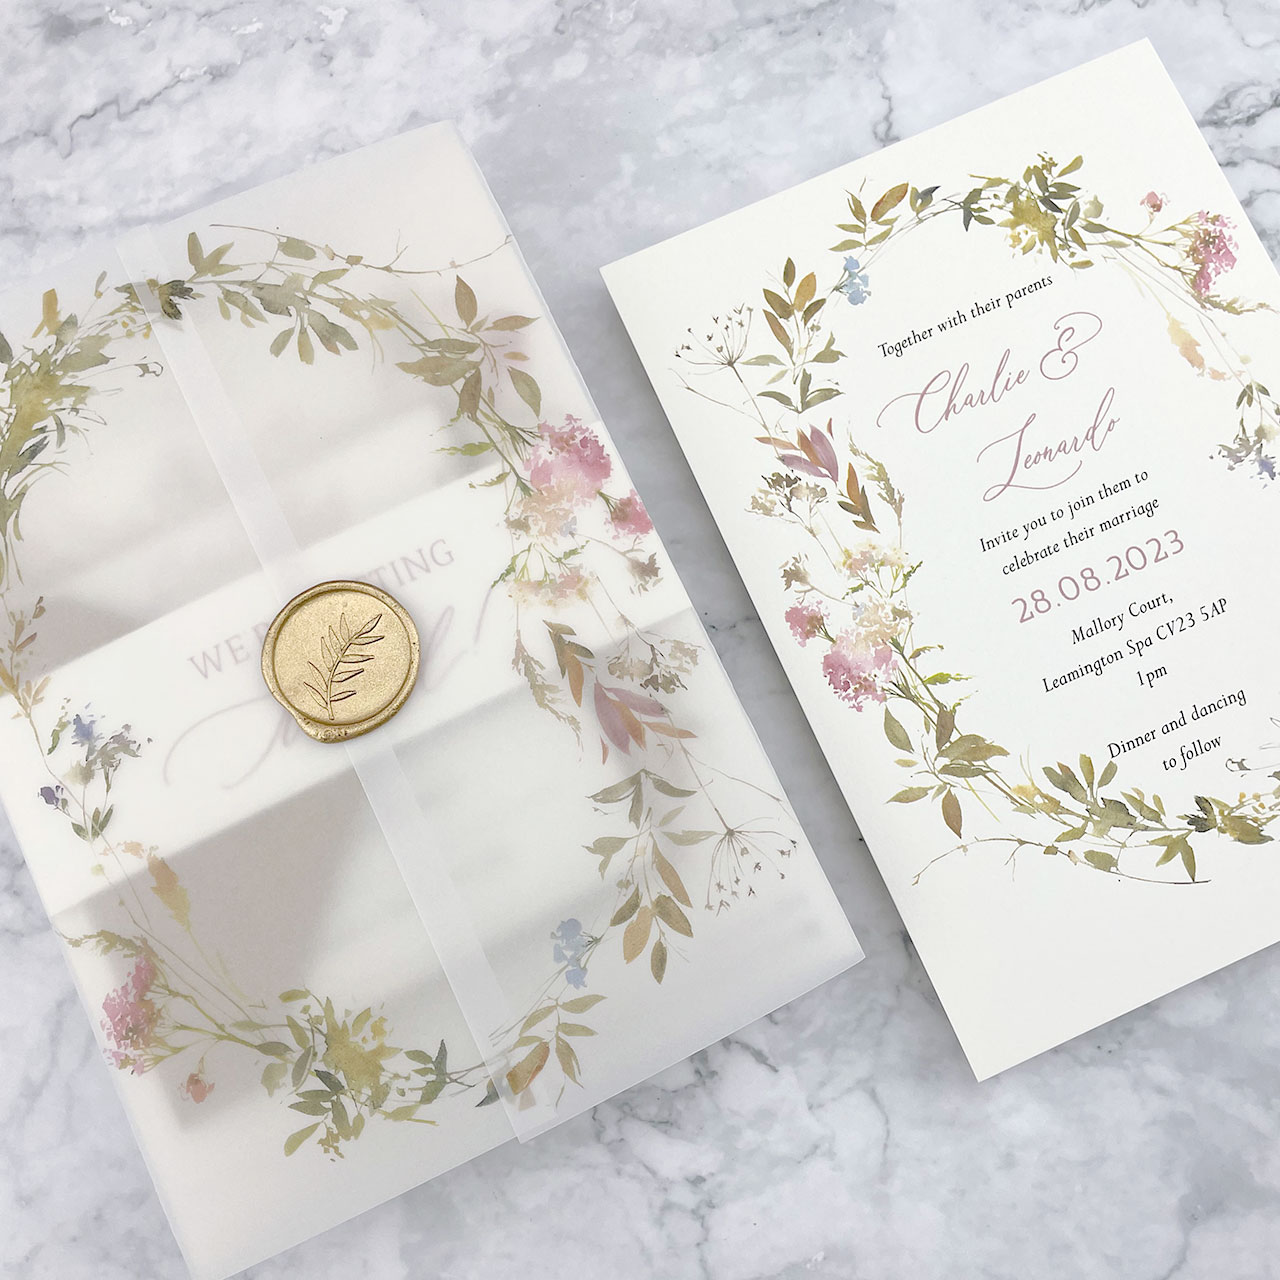
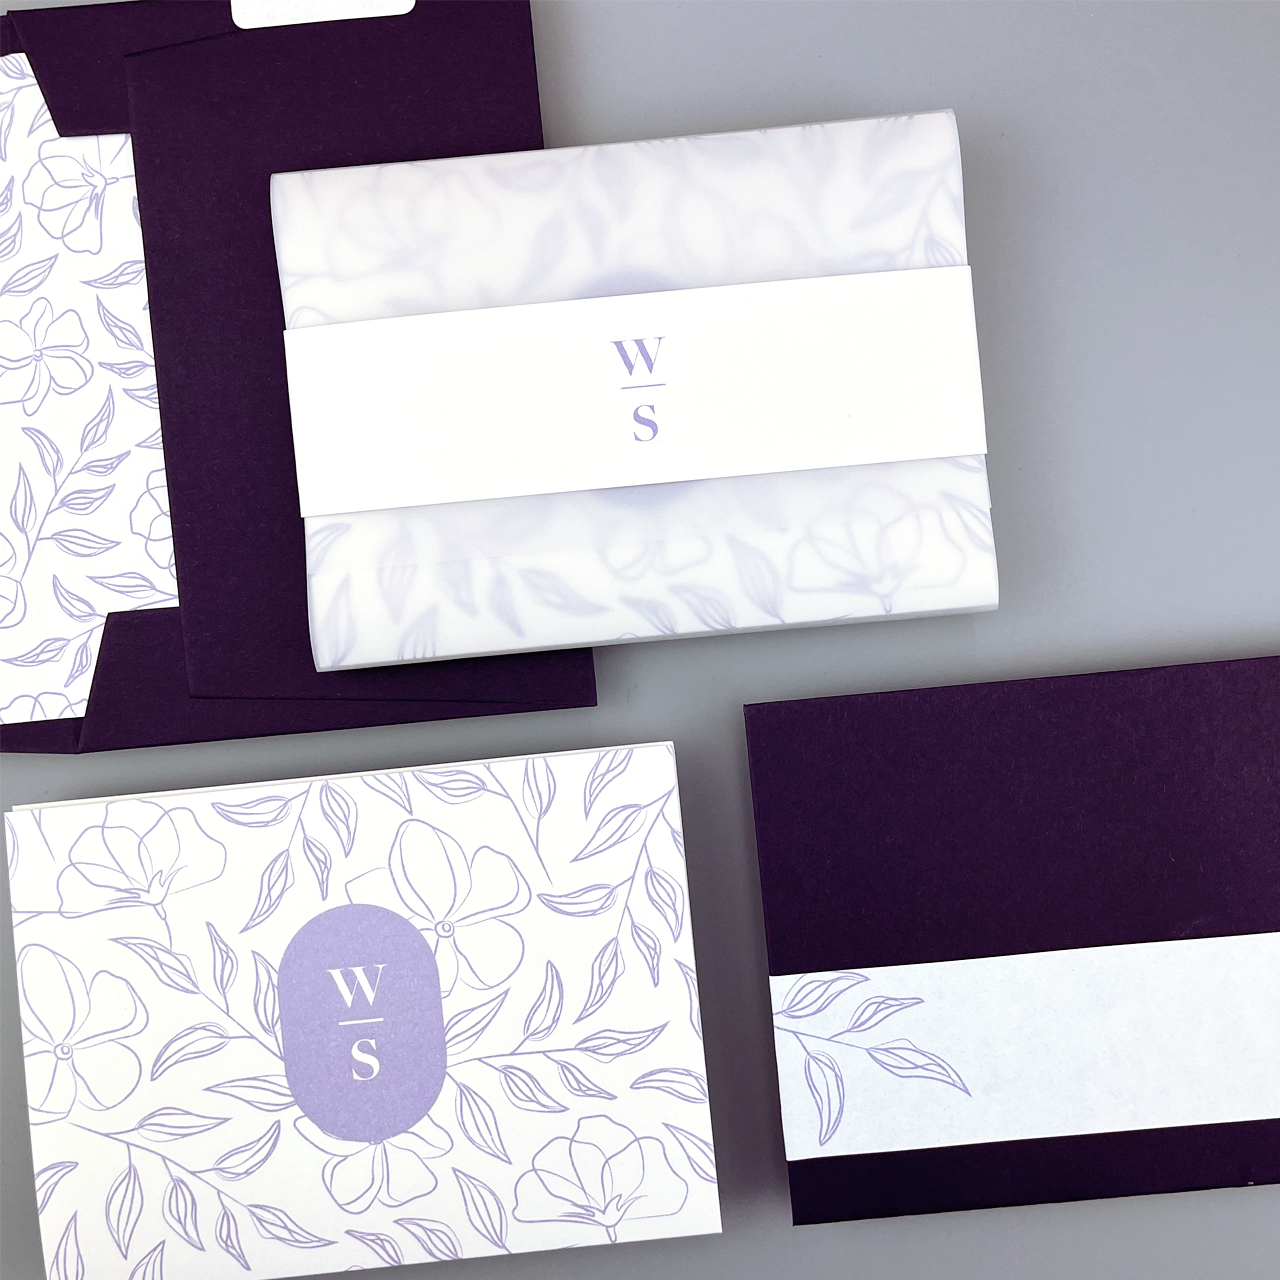
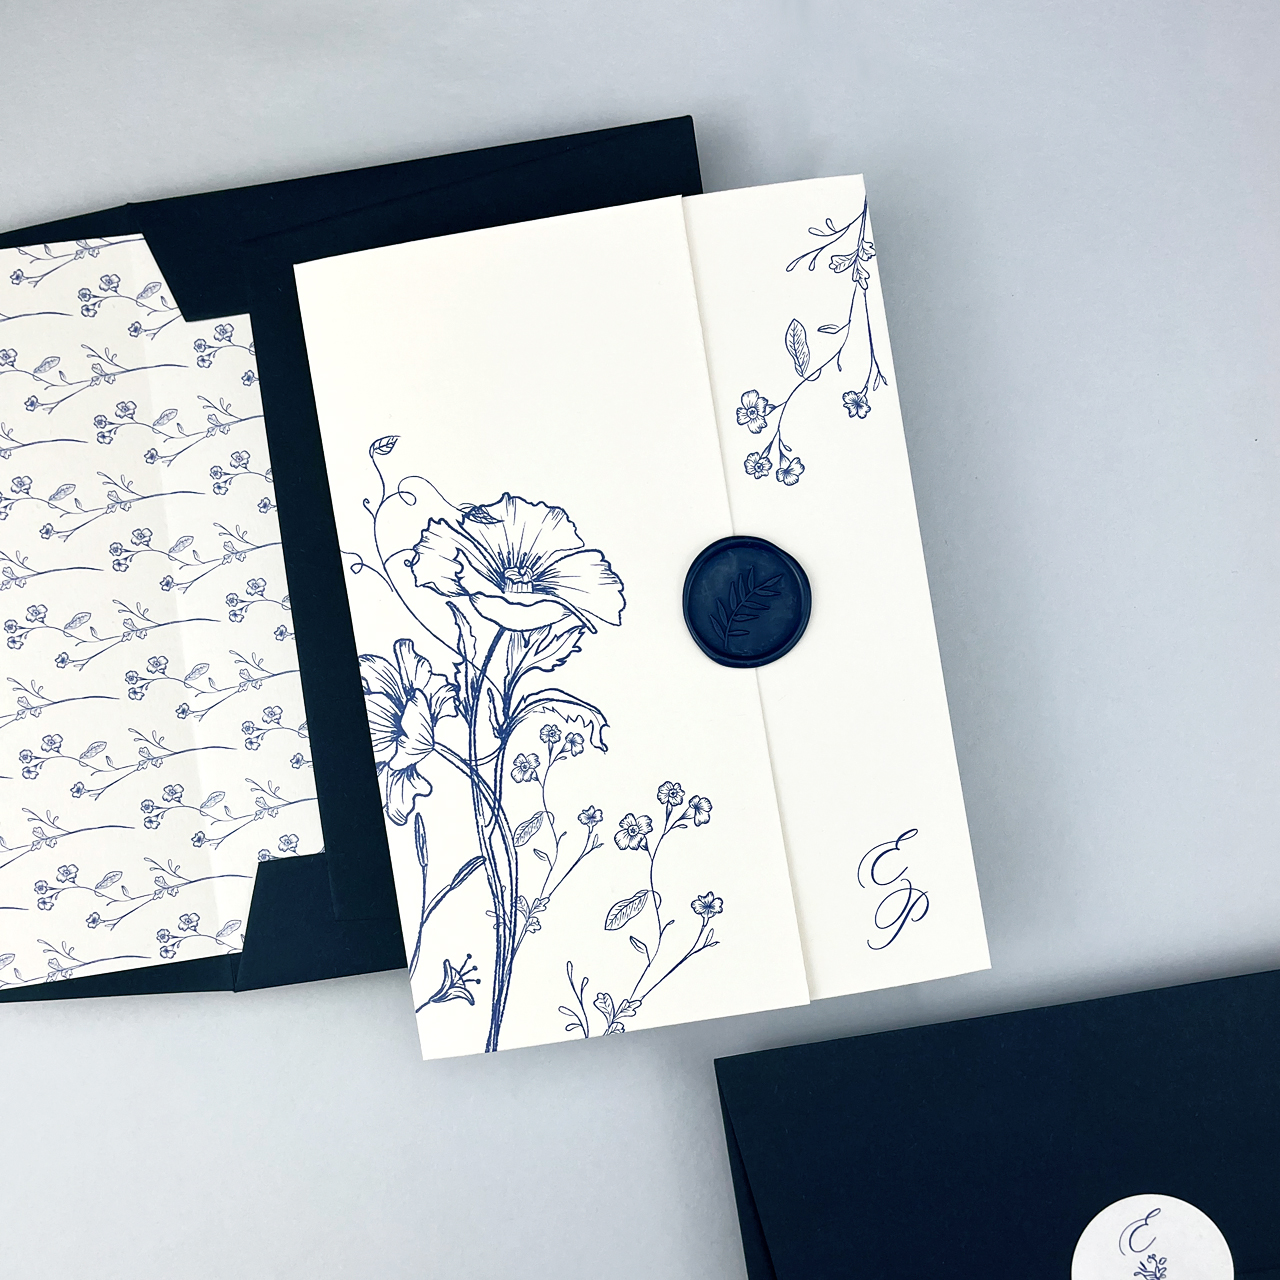
Step 6 – add a vellum jacket
A lot of our designs are shown on our website with a vellum jacket, which adds a premium feel to the invitation suite, but again the choice is yours whether you opt to have it or not.
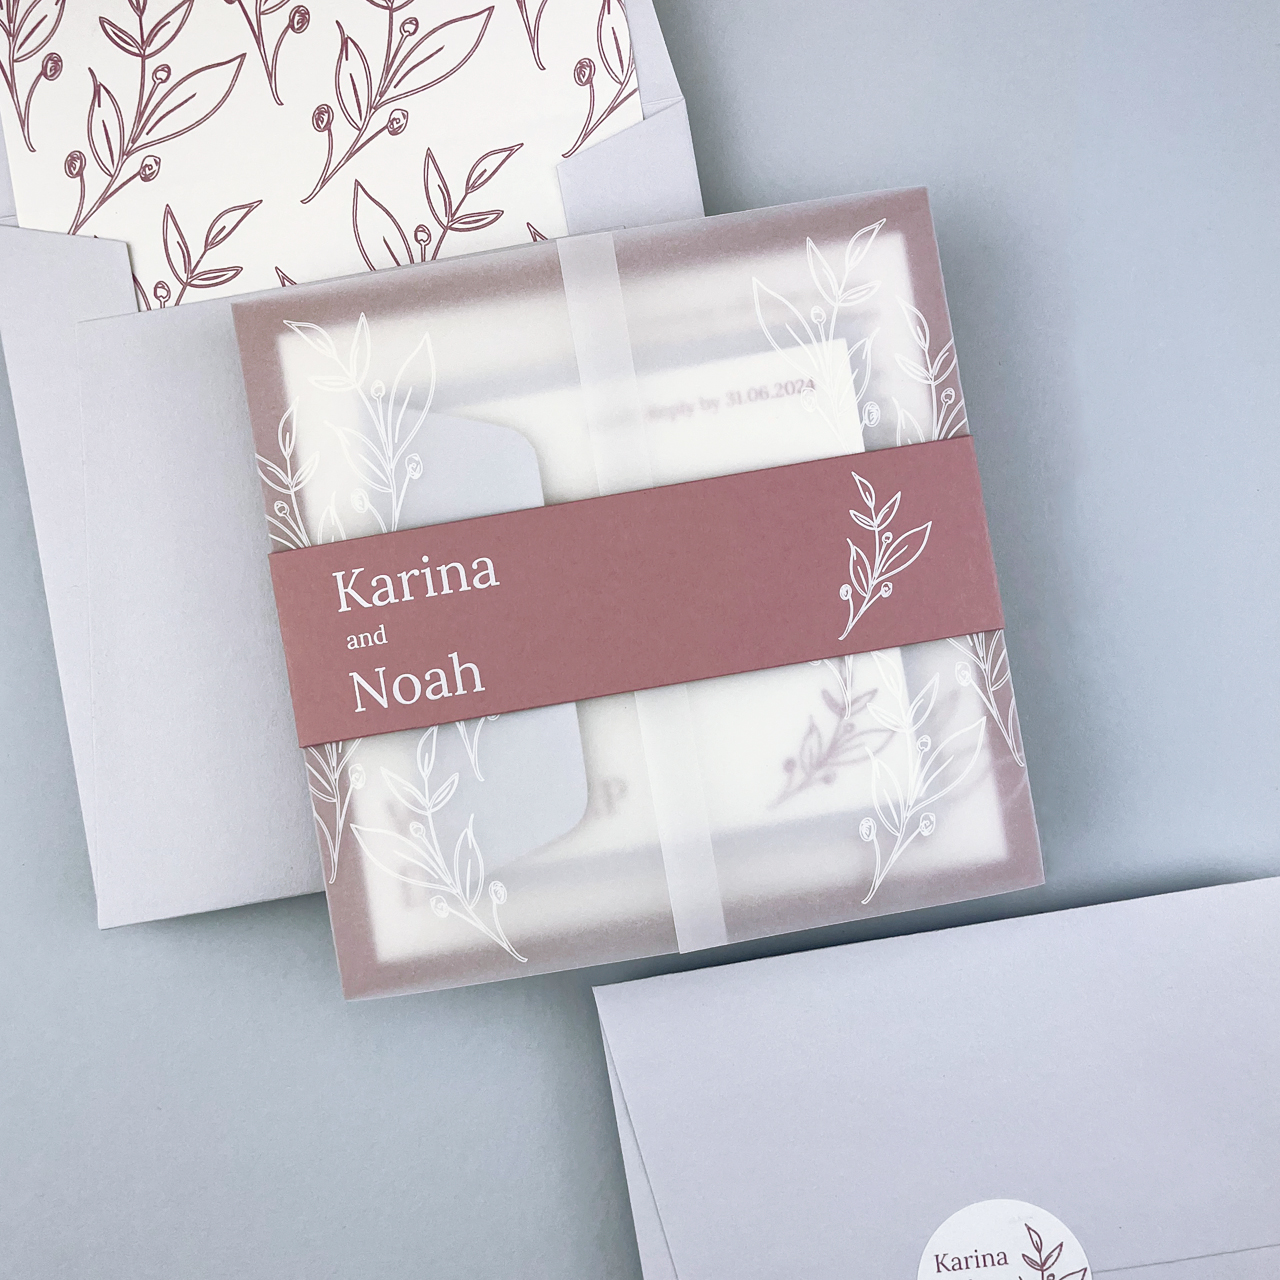
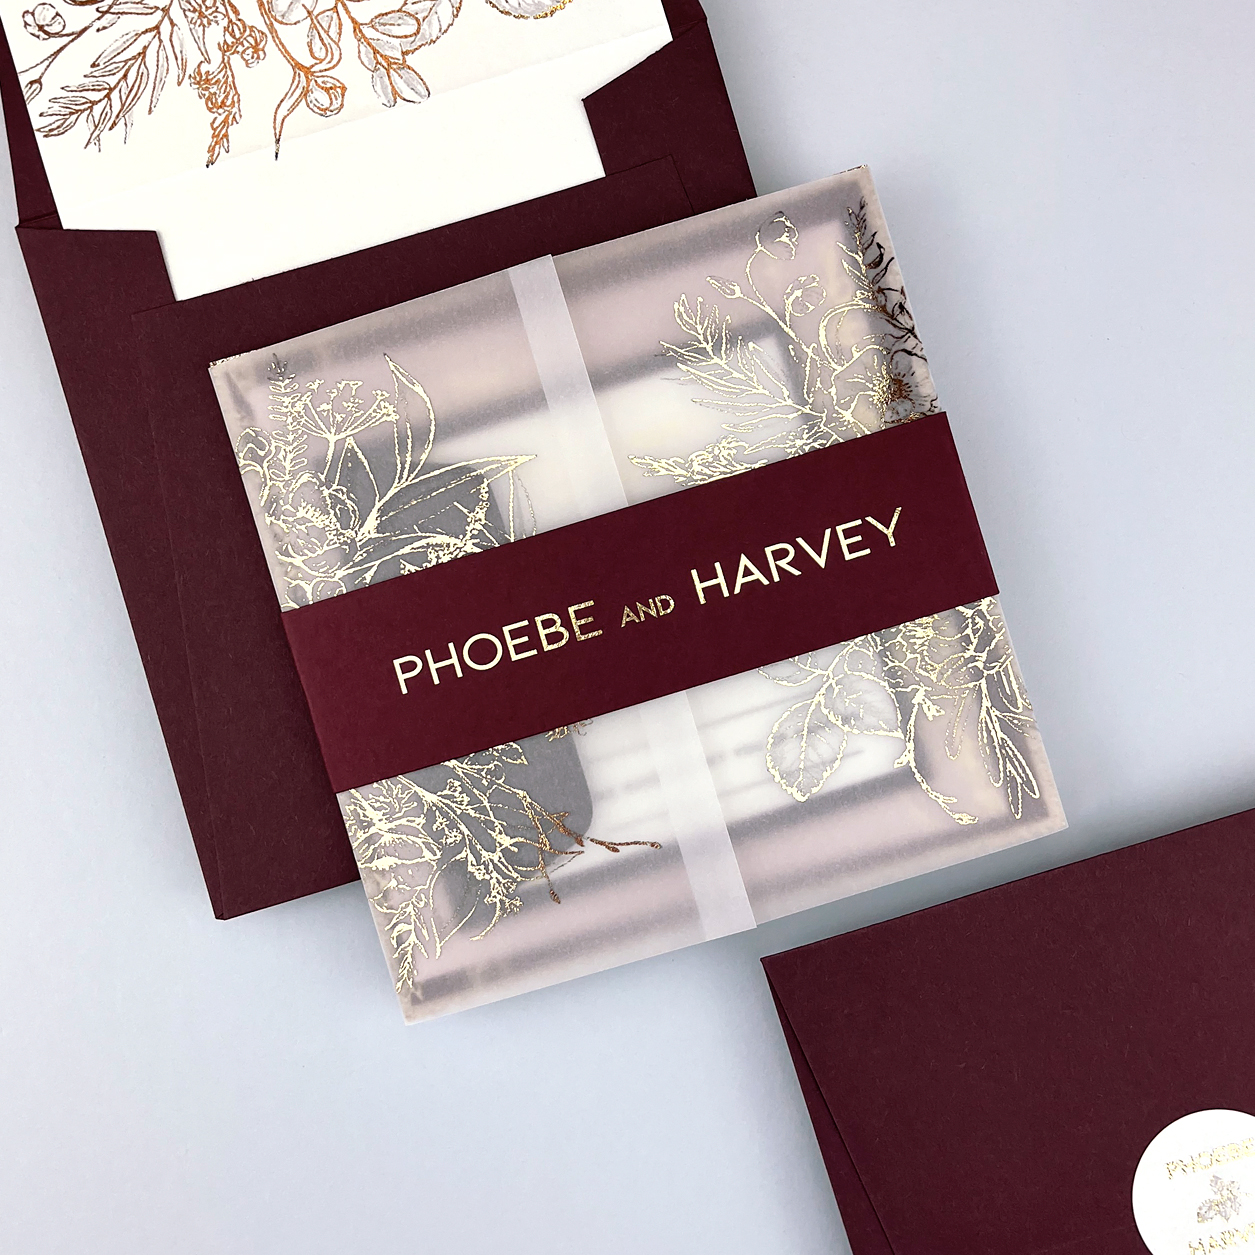
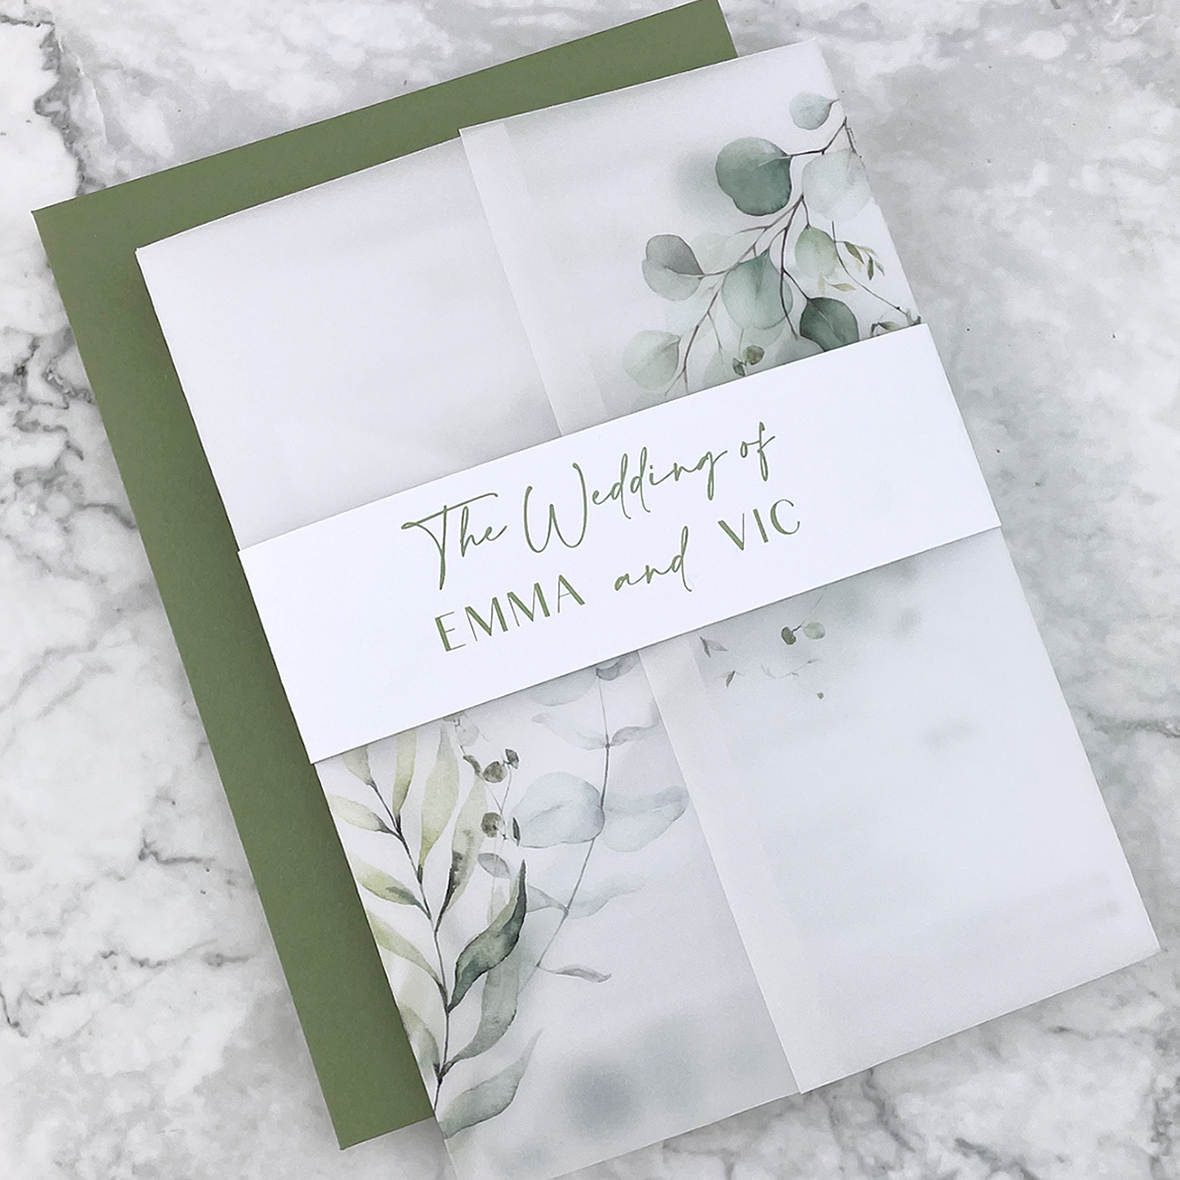
Step 7 – add a personalised bellyband
A lot of our invitations have the option of a personalised belly band, to hold your suite together. Printed on the same high-quality card used for your invitation card(s) this is another optional element, but if you choose to have it you have the flexibility of choosing whatever colour you desire.
Step 8 – add a wax seal
A wax seal is a gorgeous finishing touch to any invitation suite. Again the choice is yours whether you choose a matching colour or a contrasting shade for a real pop of colour.
Step 9 – choose an envelope colour
The envelope is just as important as the actual invitation inside it these days – after all it is literally the first thing your guests see of your stationery. All of our invitations come with a standard envelope included but if you wanted something a little bit more special, we also offer a premium range of peel & seal envelopes in a range of colours. Choose a complimenting shade to your invitation suite or for a completely modern look, a contrasting colour.
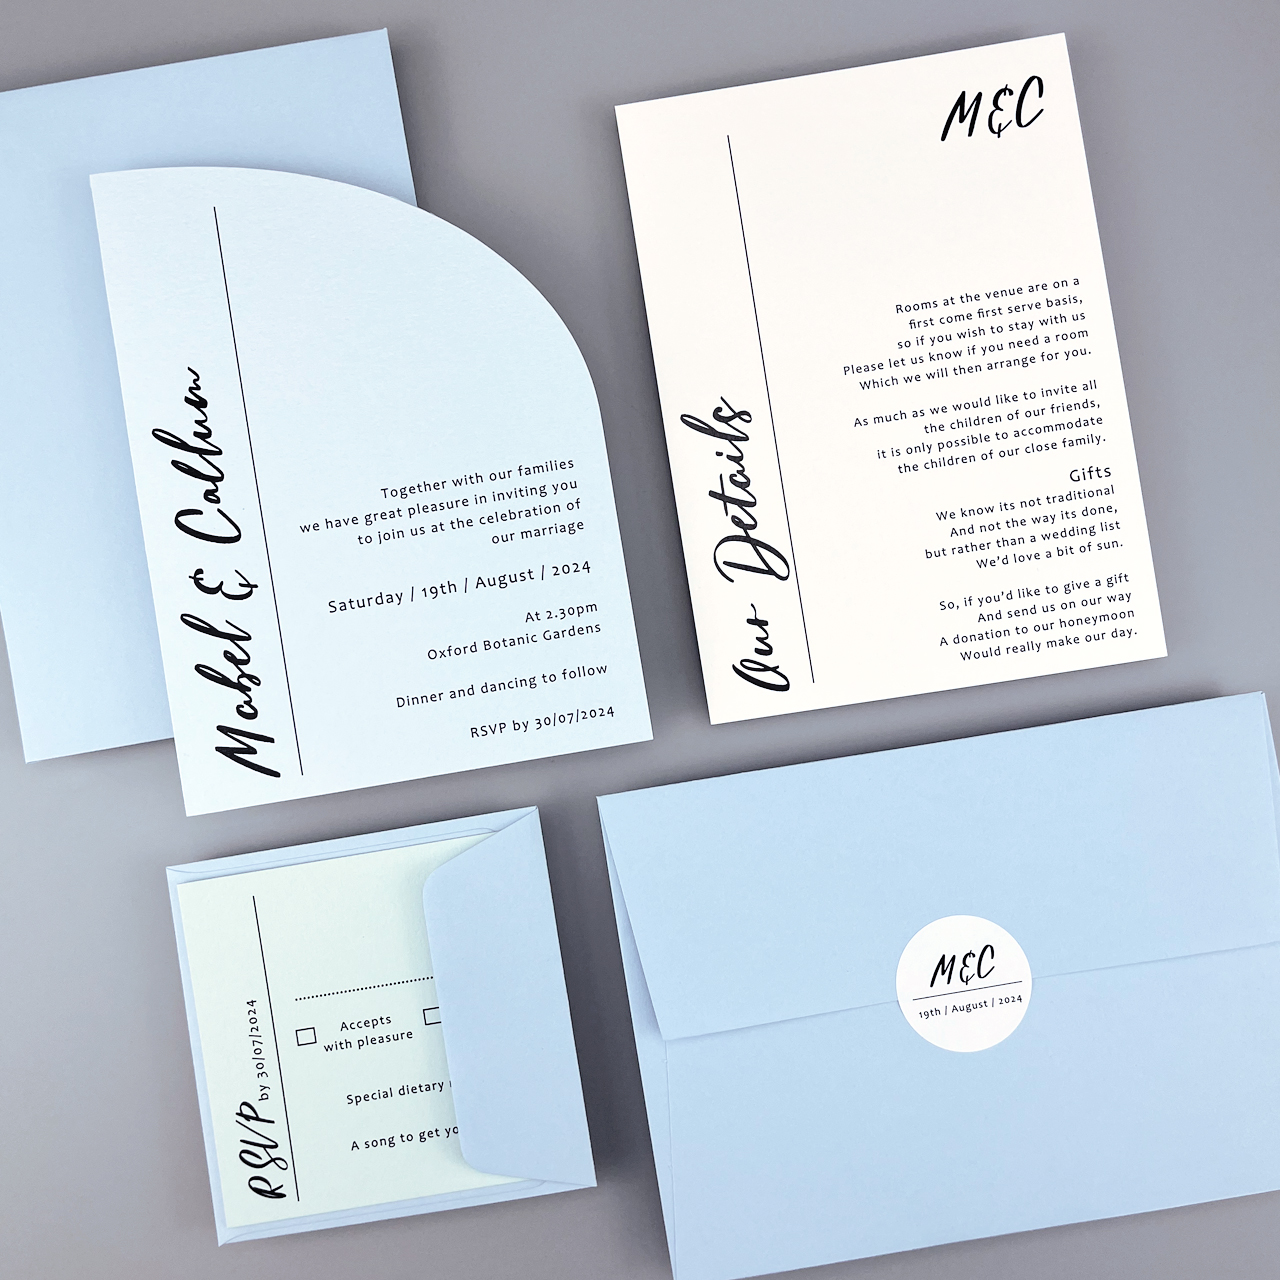
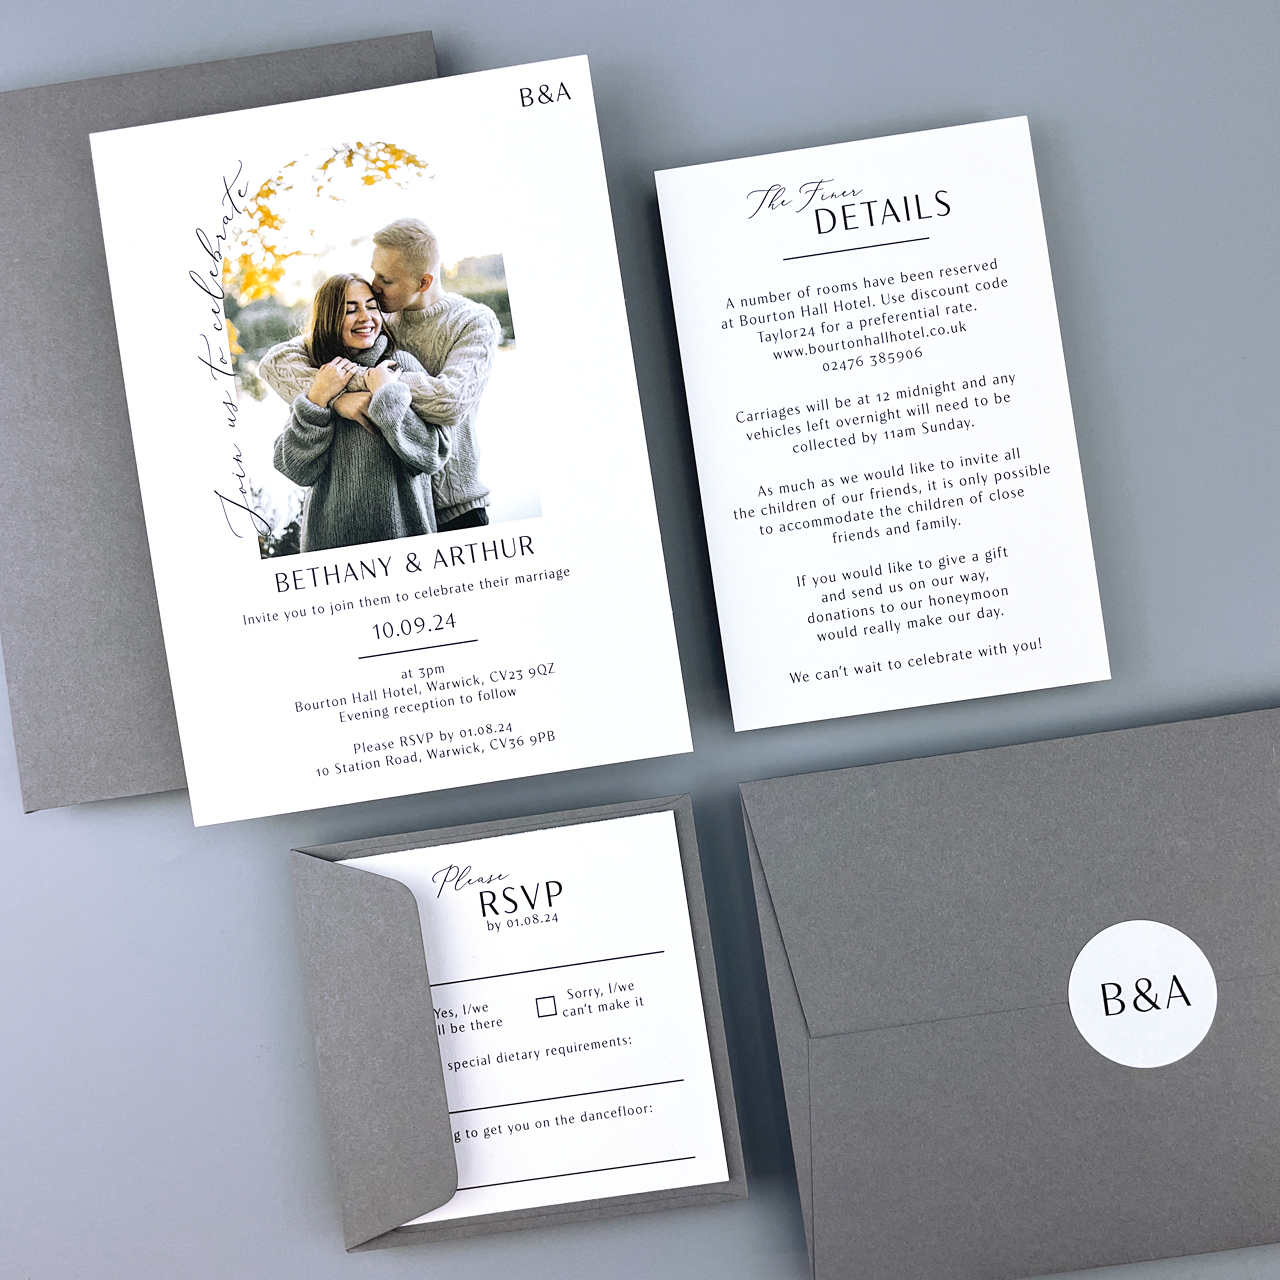
Step 10 – add an envelope seal
Further elevate your envelope by adding a personalised envelope seal.
Step 11 – add an envelope liner
Choose to add an envelope liner for the extra wow factor when your guests open their invitation.
Step 12 – add an envelope label
For a perfect finishing touch a printed address label.
Step 13 – choose to assemble yourself at home or our assemble service
The final step in the process is choosing whether you want to assemble your invitation suites yourself, or if you want our expert crafters to do it for you. If you choose to assemble yourself at home you’ll receive everything you need in one box – you simply have to unwrap every element and then assemble. We have step by step videos for every design on our YouTube channel that you can watch and follow.
As you can see it really as easy as 1, 2, 3 building your invitation suite with Pure Invitation and it truly is your invitation, your way with all of the choice you have. As always if you have any problems or want to ask any questions simply get in touch via email ([email protected]) or phone (024 76 688692).
Click here to start your dream invitation journey.